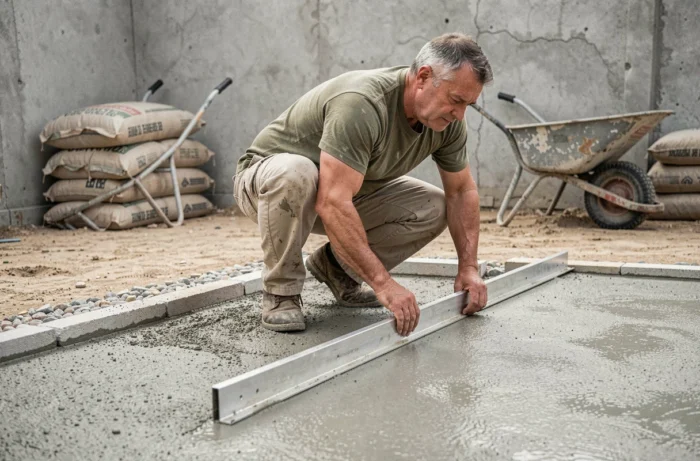
Installing a lean screed outdoors is not just about mixing cement and sand in the right proportions. The method of installation, the type of substrate, and the management of joints are just as crucial to the durability of the covering as the mixing ratio itself. This article details the parameters to master for a durable outdoor lean screed, along with a dosage table suitable for common configurations.
Outdoor lean screed: bonded, unbonded, or floating
Dosage guides often present lean screed as a single product. However, on a terrace or balcony, the installation configuration changes the rules of the game.
A bonded screed is poured directly onto the load-bearing slab. It is suitable when the substrate is sound, level, and without risk of differential movement. The mechanical bond between the screed and the slab limits detachment, but any cracks in the substrate are directly transmitted.
An unbonded screed rests on a continuous separation film (polyethylene or similar) laid on the slab. This configuration better absorbs movements of the substrate. It requires, in return, expansion joints to limit cracking related to the shrinkage of the mortar. For a terrace exposed to temperature variations, this option offers better long-term performance.
A floating screed, laid on insulation, requires a minimum thickness of 5 cm according to technical sources. Outdoors, this case remains marginal (for example, roof terrace insulation), but it is useful to know that the standard dosage is not sufficient to ensure durability if the thickness is not respected.
Before consulting the outdoor lean screed dosage table for your quantities, first identify your installation configuration: the cement-sand proportions remain close, but the minimum thickness and joint layout vary significantly.
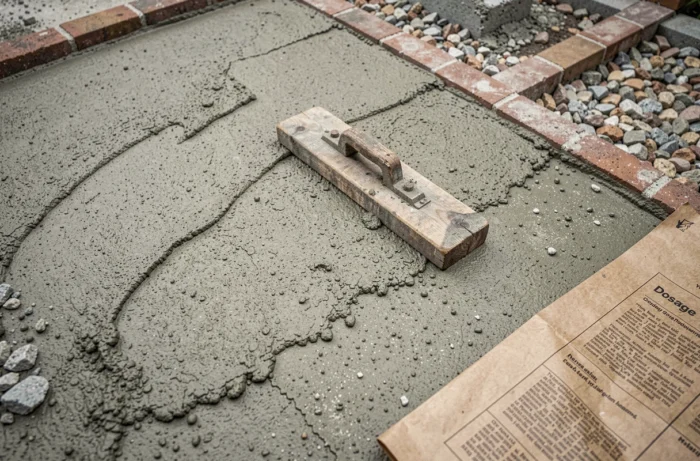
Lean screed dosage table: cement, sand, and water proportions by thickness
The reference dosage for a lean screed is 150 kg of cement per m³ of sand. This ratio corresponds to a deliberately low binder mix, intended to support a covering (tiles, natural stone) and not to bear structural loads.
| Thickness | Area | Cement (kg) | Sand (kg) | Water (liters) |
|---|---|---|---|---|
| 4 cm | 10 m² | 60 | 800 | 40 |
| 5 cm | 10 m² | 75 | 1,000 | 50 |
| 5 cm | 20 m² | 150 | 2,000 | 100 |
| 6 cm | 20 m² | 180 | 2,400 | 120 |
| 8 cm | 25 m² | 300 | 4,000 | 200 |
These values apply to a bonded or unbonded screed on a concrete slab. For a floating screed on insulation, a thickness of 4 cm is insufficient: count on a minimum of 5 cm.
Practical ratio for the concrete mixer
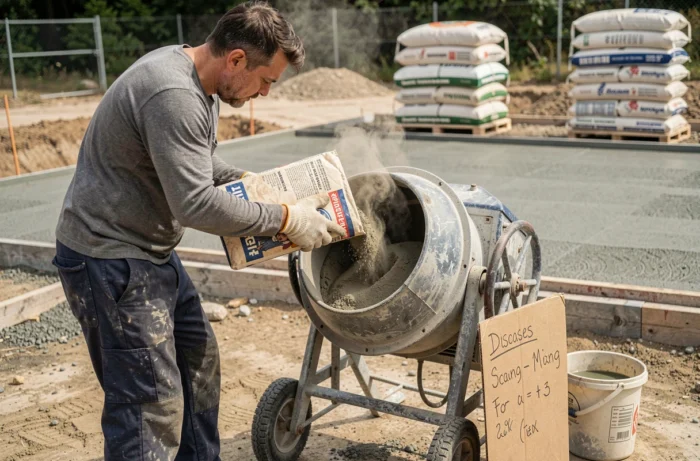
The common volumetric ratio is 1 volume of cement to 4 to 5 volumes of sand. In practice, for a standard batch, this corresponds to a 35 kg bag of cement for about four to five buckets of masonry sand. Water is added gradually until a damp but not runny mix is achieved.
The reliable consistency test remains the ball test: a handful of mortar compressed in the hand should form a ball that holds together without crumbling or leaking water. If the mix runs between the fingers, there is too much water. If it does not compact, there is not enough.
Cracks in outdoor screed: technical causes and prevention
Cracks in an outdoor lean screed rarely have a single cause. Four technical factors often combine.
- Excess cement in the mix: exceeding 150 kg/m³ increases hydraulic shrinkage and multiplies surface micro-cracks. A richer screed is not a stronger screed in this case of use.
- Excess water during mixing: a too-liquid mortar makes application easier, but the excess water evaporates and creates internal voids. The result is a brittle screed, prone to crazing.
- Absence of peripheral unbonding: without a compressible strip between the screed and the walls or low walls, expansion movements cause cracks at the edges. This point is often overlooked on terraces even though it is simple to implement.
- Missing or poorly positioned expansion joints: on an unbonded screed, expansion joints limit shrinkage by distributing stresses over reduced areas. Their spacing depends on the geometry of the terrace and the thickness of the screed.
Outdoor drying: an underestimated parameter
The drying of an outdoor lean screed directly depends on exposure. Intense direct sunlight accelerates surface evaporation and causes differential shrinkage between the upper layer and the core of the mortar. The consequence is early crazing.
In hot weather, lightly moistening the surface during the first few days of curing reduces this risk. Conversely, in cold weather (below about 5 °C), the setting of the cement slows down significantly, and the screed remains vulnerable to the elements for a longer period.
Outdoor lean screed and NF DTU 26.2: regulatory framework
The NF DTU 26.2 governs the execution of screeds and slabs based on hydraulic binders. This reference document sets the minimum thicknesses, implementation conditions, and flatness tolerances according to the type of installation and the purpose of the room.
This DTU is expected to evolve. Construction professionals follow these updates, as they may change the minimum thicknesses or joint requirements for outdoor screeds. Checking the current version of the DTU before starting the project avoids non-conformities during the acceptance of the work.
For a private terrace built by an individual, the DTU has no contractual value. However, it remains the best technical reference available for correctly sizing an outdoor lean screed.
The dosage of 150 kg of cement per m³ remains the foundation of a successful lean screed, but the differences in durability between two terraces rarely come from the dosage. They stem from the chosen installation method, the presence or absence of joints, and the management of drying during the first days.