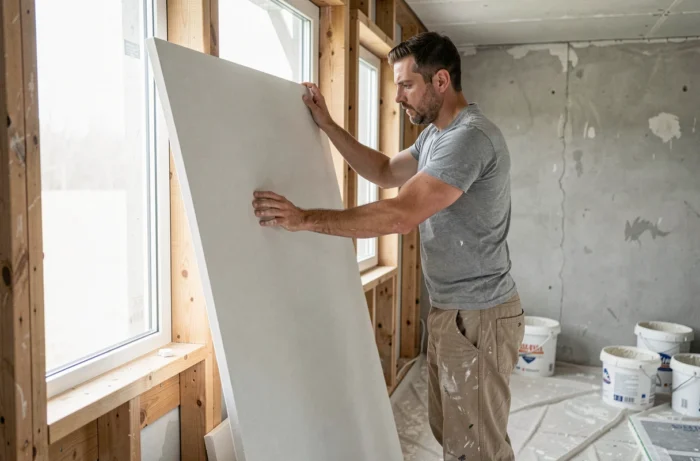
Installing drywall around a window involves dressing the frames, the lintel, and the sill of the opening with plasterboard, in order to properly connect the wall lining to the carpentry. This work, often underestimated, affects both the interior finish and the thermal performance of the wall. If poorly executed, it creates thermal bridges at the junction of the wall and window and recurring cracks at the corners.
Insulation return and thermal bridge: what changes with NF DTU 25.42
Most tutorials treat the installation of drywall around the frame as a simple task of cutting and screwing. The real challenge lies upstream, at the level of the insulation return around the carpentry.
Since April 2026, amendment A1 of NF DTU 25.42 allows for thicker insulation (between 140 and 160 mm for certain polystyrene or PU complexes) at the level of window frames and sills. This text also introduces chamfering to facilitate the implementation of these thicker complexes.
In practice, this allows for more generous insulation returns around the carpentry. A continuous insulation return limits thermal loss at the junction between the wall and the window frame, an area where linear thermal bridges concentrate. The installation of drywall around a window incorporates this return into the thickness of the frame, improving the overall energy balance of the wall without altering the appearance of the interior finish.
Ignoring this point means prioritizing aesthetics while allowing heat loss. A dressing compliant with the DTU, with insulation return, addresses both issues simultaneously.
Metal frame around the window: assembly and critical points
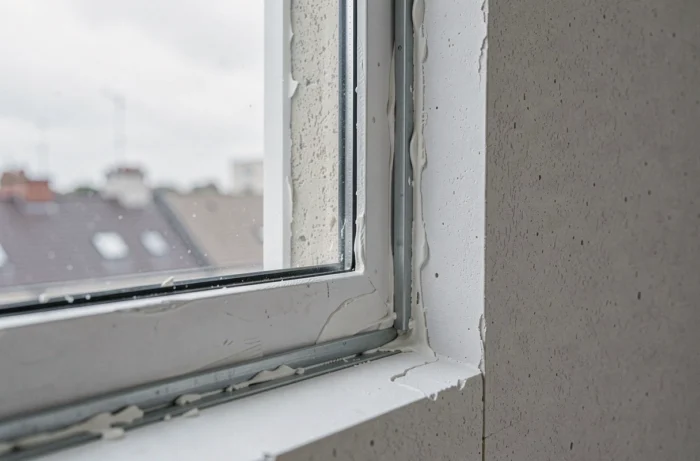
The frame that surrounds the opening determines the overall strength. Two approaches coexist on construction sites: direct gluing of the insulation-drywall complex to the wall frame, or installation on a metal frame with tracks and studs.
The second method offers better flatness correction, especially in older houses where window frames are rarely square. It also allows for the insulation to be installed without compression, a necessary condition for the stated thermal resistance to be effective.
Installation of the vertical studs
A vertical stud is fixed on each side of the window, against the wall frame, in line with the window frame. This stud then receives the screws for the side drywall. Without it, the board is only held by the adhesive or by a simple bracket, which weakens the corner in the medium term.
The horizontal track at the lintel connects to the vertical studs of the regular lining. The spacing between the studs must remain consistent with the rest of the partition to avoid any discontinuity in the screwing plane.
- Check the squareness of the frame before fixing the studs, by measuring the diagonals of the opening. A gap of a few millimeters can be corrected with shims, but beyond that, the support must be adjusted.
- Leave a gap of a few millimeters between the edge of the board and the window frame, which will be filled later with a flexible acrylic sealant. This sealant absorbs micro-movements of the structure without cracking.
- Position the studs so that the window sash can open without hitting the drywall. A frame that is too narrow prevents a 90-degree opening, a common defect reported by drywall installers on specialized forums.
Finishing the angles and joints in the reveal
The protruding angles between the regular lining and the window frames are the most exposed areas to impacts and cracks. A reinforced corner tape at each protruding edge is essential to ensure the durability of the finish.
Choosing the corner tape
Armored paper tapes are suitable for well-aligned right angles. For a slightly irregular angle, a corner bead in PVC or aluminum offers better rigidity. The bead is embedded in the joint compound and then covered with two successive passes, widening each layer.
Treating the board joints
The joints between boards should be placed as far as possible from the corner of the window. A joint placed exactly at the edge of the opening will crack under mechanical stress. The best practice is to cut the board so that the joint falls at least ten centimeters away from the corner.
The finishing compound is sanded in two stages: first with a medium grit to flatten, then with a fine grit to smooth. On a reveal, the raking light from the window reveals any imperfections. It is better to apply an additional layer of compound than to try to correct a defect with paint.
Drywall around the window frame: concrete gains for insulation and finish
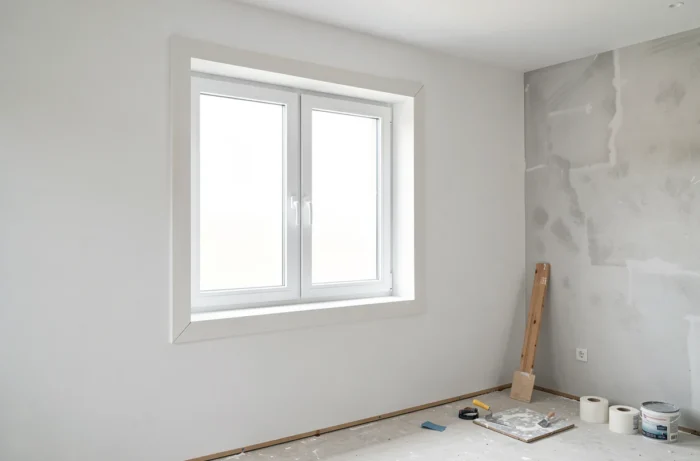
The dressing with plasterboard of window frames combines several practical advantages compared to a cement render or raw wood cladding.
Drywall provides a perfectly flat and even surface, ready to receive paint or a covering directly. A cement-coated frame requires a much longer drying time and masonry skills to achieve a comparable result.
Combined with an insulation complex, drywall around the frame eliminates the linear thermal bridge at the level of the frame. This continuity of insulation between the regular wall and the carpentry reduces the risk of condensation on the interior edges of the window, a phenomenon responsible for mold in humid rooms.
Maintenance is simple: the surface can be repainted, washed, or repaired with a filling compound in case of impact. In comparison, wood cladding requires treatment against moisture and regular varnishing, especially in bathrooms or kitchens.
Compliance with NF DTU 25.41 (plasterboard works) and NF DTU 25.42 (linings and claddings) remains a point of vigilance not to be overlooked. A drywall installation done “properly” but outside the rules of the trade can be contested during an inspection, even if the theoretical thermal resistance of the wall is correct. Compliance with the DTU protects both performance and insurance coverage in case of disputes.